- POPSUGAR Australia
- Beauty
- I Tried the Trendy “Invisible” French Manicure at Home
I Tried the Trendy “Invisible” French Manicure at Home

I’m what you might call a project hoarder, or maybe the better descriptor is project starter. For as long as I can remember, I would get sucked into a new craft after discovering it on social media, go out and buy all the supplies I needed (plus a ton of supplies I didn’t need), and give it the old college try . . . for about two months. My collection of knitting needles, pricey calligraphy pens, and adult coloring books serve as a scrapbook of my hobbies past. Speaking of scrapbooking . . . wait, never mind.
In early 2020 when the world changed, do-it-yourself beauty treatments became the norm, and, of course, I downloaded TikTok, where I was introduced to my next project hyperfixation: at-home Gel-X nails. After watching countless tutorials, discovering my favorite Gel-X nail creators, and ordering round after round of nail tips, e-files, LED lights, and gel nail-polish colors, I’m happy to report that this is one project that has stuck.
I love the detailed work that goes into creating a seamless finish. I can’t stop testing new application hacks, like the overlay method. I’m obsessed with the creativity that goes into creating the perfect color palettes. Most of all, however, I love that the added strength and length have given me a chance to try out all of those nail-art inspo pics I’ve been pinning like it’s my job (even though it actually is). When I learned about the “invisible” french-manicure trend, I knew that this design was next on my list.
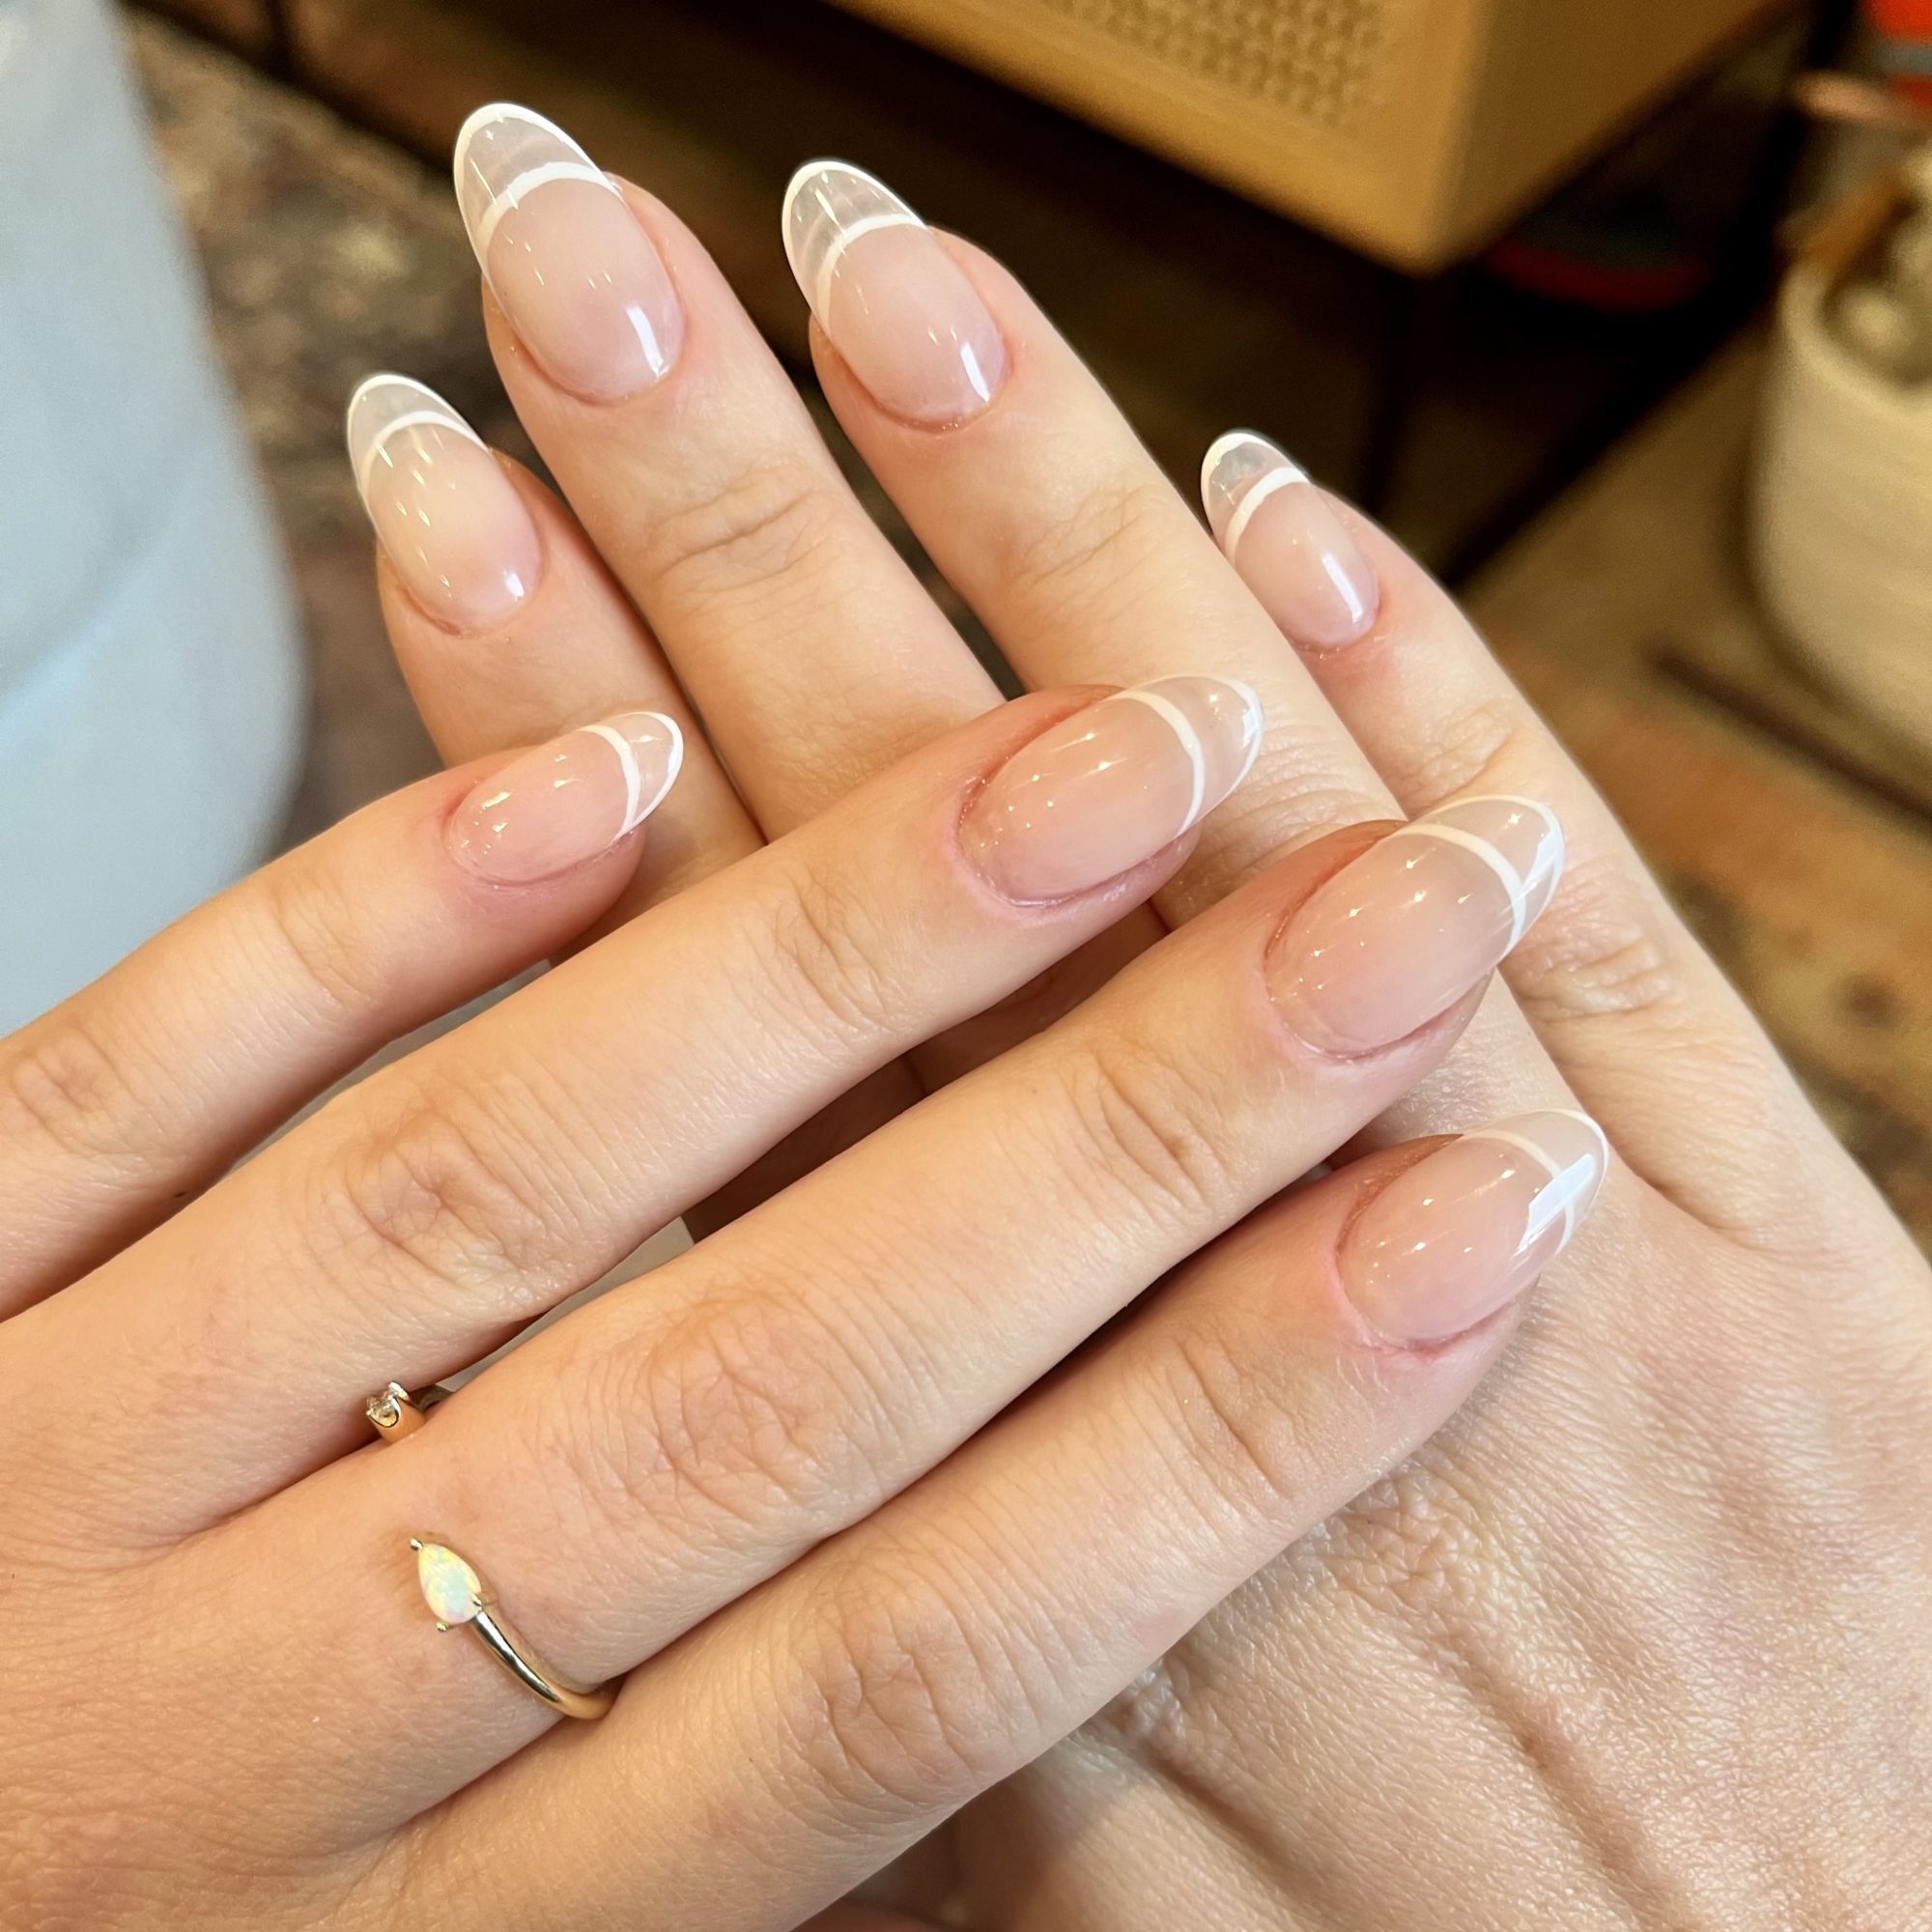
For me, nail art is all about the creative process and less about the actual wear time. I tend to get sick of elaborate and colorful designs after a day or two. That’s one of the very few downsides to Gel-X nails and really all nail extensions. You have to be pretty committed to the design because the removal process is a lot more time consuming than a simple swipe of an acetone-dipped cotton pad. It was the understated nature of the “invisible” french manicure that made me most excited to DIY it – and then I found this inspiration photo on Instagram.
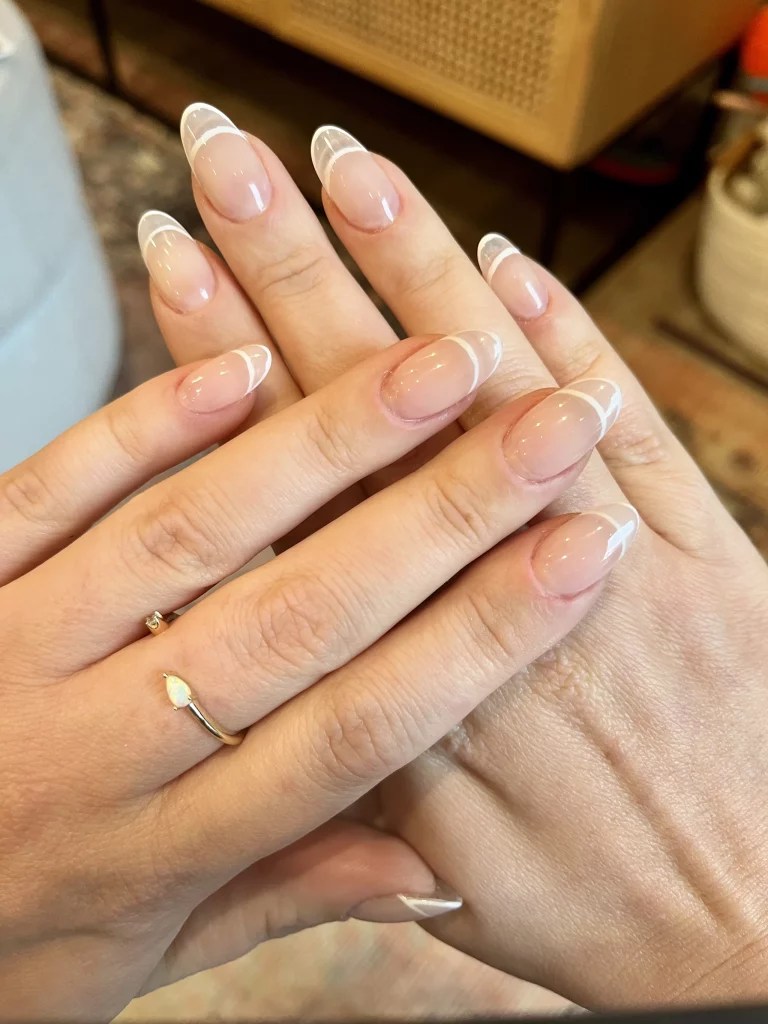
I’m not going to lie, it was a lot harder to re-create than I initially thought. But it’s been a couple of days since I completed the subtle, outlined “invisible” french manicure, and I’m still obsessed. Curious about creating this subtle french manicure look at home? Keep scrolling for my first-hand take.
Tools You Need For a DIY Invisible French Manicure
Here are the exact products I used to create my “invisible” french manicure. This nail-art look is totally possible to create with regular polish but definitely easier with gel (more on that below).
- Your nude polish of choice. Mine is ASP Gel Polish in Pink Whisper ($12), a sheer pinky nude that’s flattering on every skin tone.
- An accent tip color. I went with Beetles Gel Nail Art Liner in French White. ($14)
- A topcoat. I used ASP No Wipe Top Coat ($13).
- Striping nail brush and clean-up brush. This Teoyall set ($5, originally $8) includes every brush you’ll need, plus some extras just in case.
- Nail-polish remover or alcohol (for cleanup purposes).
How to Do the “Invisible” French Manicure
Step 1. Lay Down Your Base Color
I started with my typical Gel-X nail application. I’ve found that this type of detail work is a little trickier (but not impossible) to DIY on shorter nails. The added length also let me file my nails into a rounded almond shape like my inspiration pic. Here’s what the gel extensions look like without any polish.
I wiped my nails down with alcohol and a lint-free cotton pad to ensure they were clean, then I swiped on a coat of my pinky-nude base. I went in with only one coat of my nude nail polish because I wanted to keep that overall sheer “invisible” french manicure effect. With two coats, this nude would become pretty opaque, which was not the vibe. After I cured that coat of nude under my LED light, here’s where I was at.

Step 2. Paint On the “Invisible” French Tip
This step is where things really took a turn. Even though the white nail polish I used came with a striping brush, it was too big to get those delicate lines I was looking for. So I dabbed a little polish out on a glass coaster and used the longest striping brush I had to create the designs. It might seem counterintuitive to use the longest brush to make such fine lines, but those extra-long bristles actually help keep the lines even. I started on my thumb and, in one fluid motion, created the thin smile line at the end of my nail plate. Or, at least, that’s what I tried to do. It looked more like the Joker’s smudgy smile than the whisper of a grin I was aiming for.
This is when I was extra grateful to be working with gel. Since my base color was fully cured, I could just wipe off the uncured white paint with a little alcohol and try again . . . and again and again. I found that using really light pressure, going in one fluid motion, and actually starting the line on the sides of my cuticle helped create those delicate stripes at the top and bottom of my nail tip. Once I was happy with the shape, I just dipped my cleanup brush in a little alcohol and swiped away any paint on my skin before curing the look to lock it in. I also opted to cure each individual nail as I went to avoid bumping and ruining the design as I was working on the next nail. After a lot of trial and error, here’s what the white lines looked like before the topcoat and cuticle cleanup. This step took a little more than an hour to complete, but if you have less of my type A, perfectionist tendencies, you can probably tackle it in 20 to 30 minutes, including curing time.
Step 3. Seal the Look
Once all the white striping was done, I then went in with a clear topcoat to give it back that shine and professional-looking finish. I’m so happy with how this turned out. For such a minimalist design, it really took a lot of time (about two hours). But when there’s so little going on in a design, your eye has nowhere to go but to the mistakes, so I really took my time to make sure the lines were as even as possible.
Final Results


